
- Dit onderwerp bevat 110 reacties, 11 deelnemers, en is laatst bijgewerkt op 10 jaren, 1 maand geleden door Italjohn.
-
Gebruiker<i class="fa fa-comments-o" aria-hidden="true" style="font-size: 20px;"></i>
-
15 augustus 2015 om 20:21 #497107
Slack is fine no worry.
For the long fins you might need to slice it open at the top to hook your decompression depending if the cable reaches it correctly or not.goodluck.
15 augustus 2015 om 20:44 #497109I would personally try to find some way to keep the needle bearing as much in the middle as possible.
And the reasen why there are two types of cylinder head is that the one one the left does not fit Ciao and Boxer models. But for you this makes no real difference.
15 augustus 2015 om 20:53 #497110Thanks again guys.
Just found this pic online.
It’s a Bravo with long fin (Ciao) head 🙂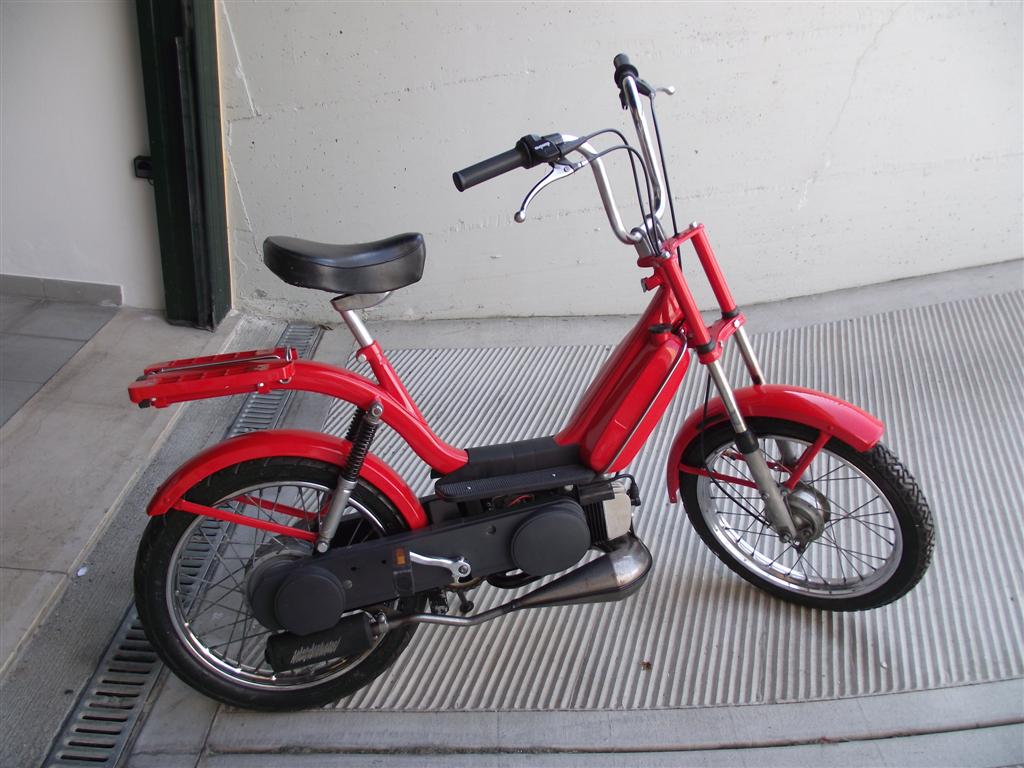 16 augustus 2015 om 17:13 #497119
i used to place a piece of rubber hose, that came from a gas burner.
the DR evo has the same problem, i ran it for 100km with rpms up to 10.000 rpm 😀like this:
 De budget beun tjoener: geen geld is te duur of het werkt nog niet
Link naar Mijn collectie / Projecten.16 augustus 2015 om 19:59 #497121Good tip.
I will look into that
I was planning to use a piece of old brass bearing, and cut two piecses of that.16 augustus 2015 om 20:50 #497124The first Bravo’s also head this type of cylinder head that’s right 🙂
20 augustus 2015 om 13:10 #497160It took unbeliably long from Nederland to Norway.
6 whole days??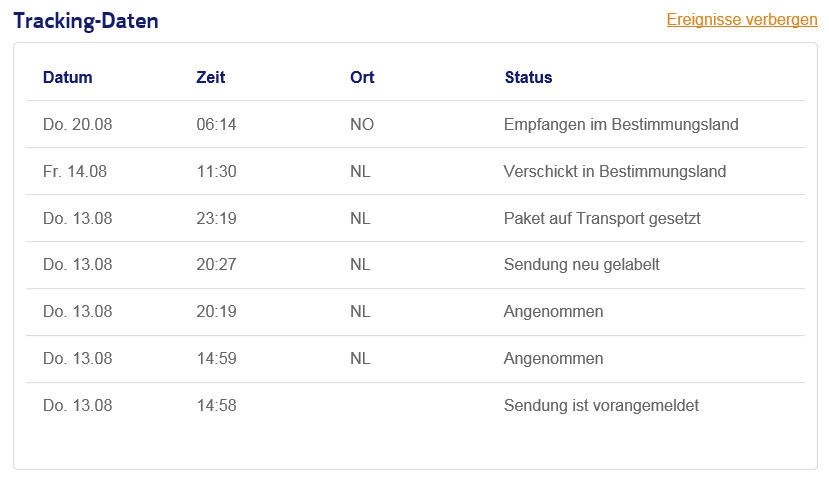
21.08.15 Today the parts are finaly in my house.
Engine building tonight 😀21 augustus 2015 om 18:51 #495244Got one problem again.
The decomp spring don’t fit like I was hoping for.


I also miss this part.
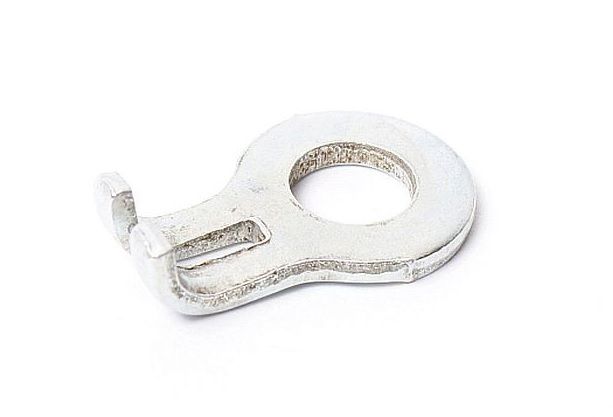
Can someone post a picture that shows how to install it?
23 augustus 2015 om 18:28 #497168Found a pic online for the decomp valve.
Now I know how to install it 😀
But if someone have pictures I would love to see them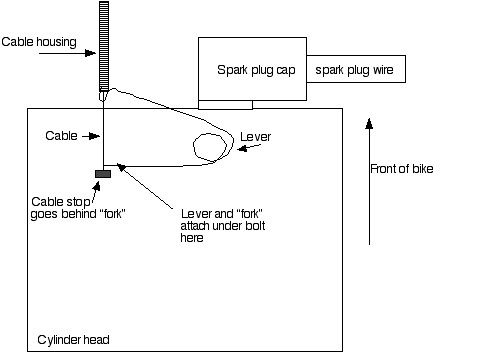 26 augustus 2015 om 16:45 #497174
I have got some problems again.
1.I can’t figure out how to install the capacitor????
Anyone who have a Polini Speed engine and have some pictures of how to do it?

There are no hole to install the capacitor in the Speed engine???
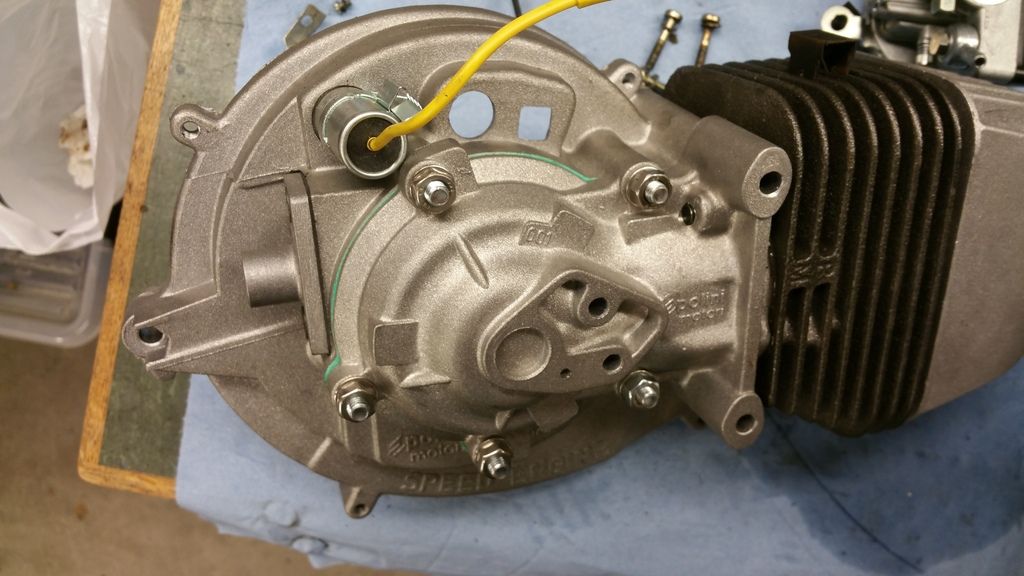
My engine has 3 coils, not 2 as I have seen on Google pictures.

2.The felt “greaser” pad won’t fit any more either??
Can someone please tell me or post a picture how to do it on Speed engine?

 26 augustus 2015 om 17:47 #497178
First of all make sure you still make use of the third coil? You won’t find much of these anymore and these setups are kinda rare. Mostly people will make use of only the ignition and light coils. If this is the case you can mount your capacitor on the inside and your felt greaser aswell.
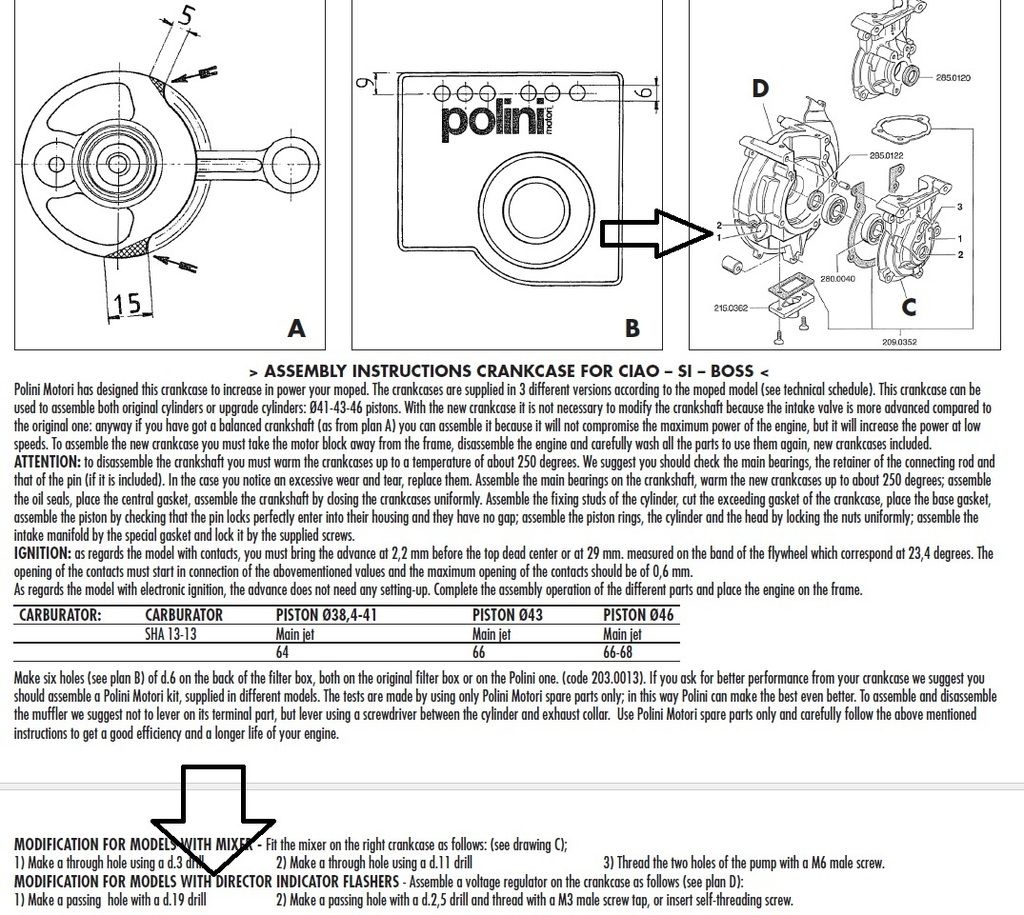
If you still want the third coil to be installed. I see you’ve already found the right spot for the capacitor on the outside. There is no hole because you will have to drill it yourself. 😀 Have a look at the documantation from your Polini enginge it will guide you through the proces. By example;
 26 augustus 2015 om 20:22 #497179
Aha……. that expalins it 😀
In my manual it says “voltage regulator for indicators”. I guess the third coil is for extra wattage, so it can power a battery and indicators?
 26 augustus 2015 om 20:52 #497181
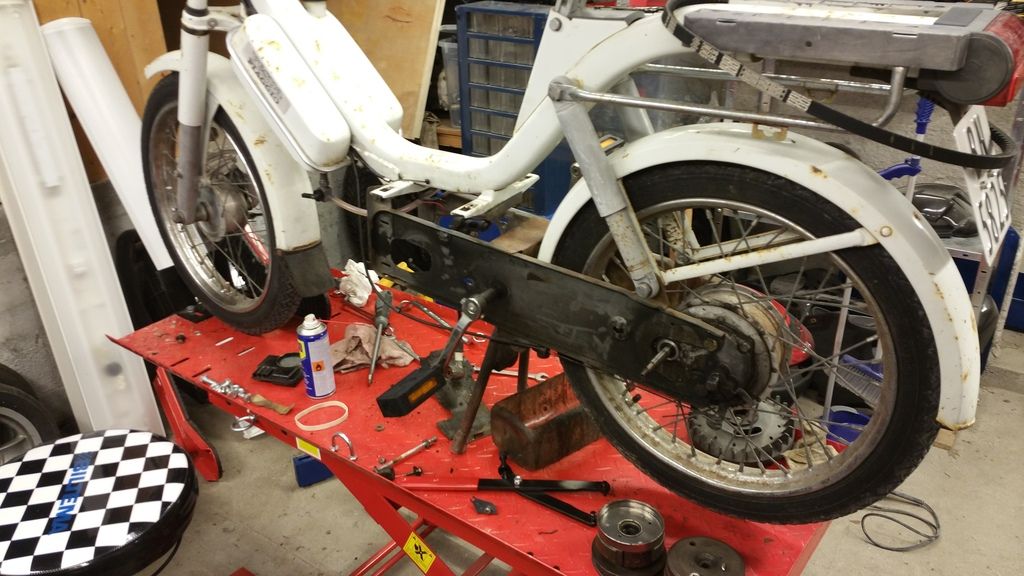
By the way, here are a few pics of my messy workshop

 27 augustus 2015 om 01:21 #497183
Yes, this coil is for powering indicators, but not through a battery. Never seen such batteries for Piaggio/Vespa. There is need of some kind of relay. Seeing your Bravo makes clear you don’t need the third coil, because there’s no indicators anyway.
Your workshop messy?..
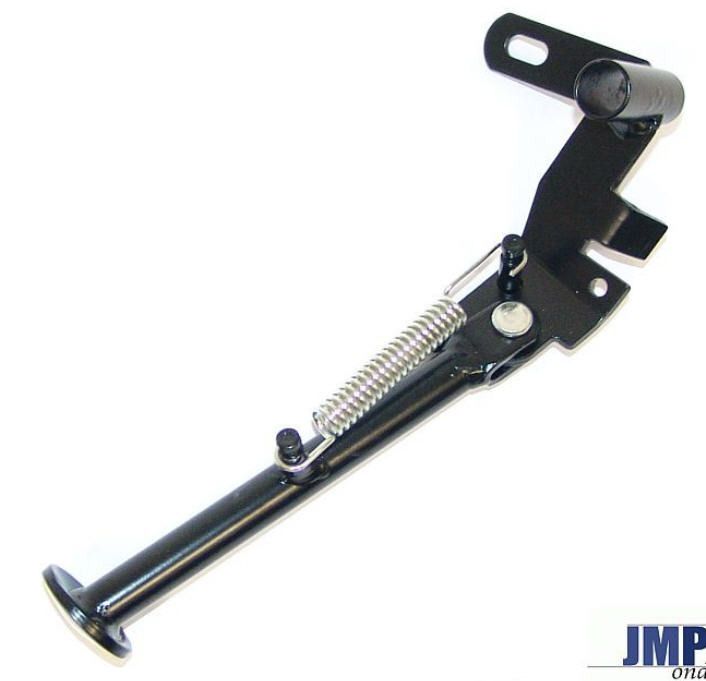
I think this is what you see at most of our workplaces.;)27 augustus 2015 om 12:59 #497186Anyone know which stand will fit my Bravo?
Ciao
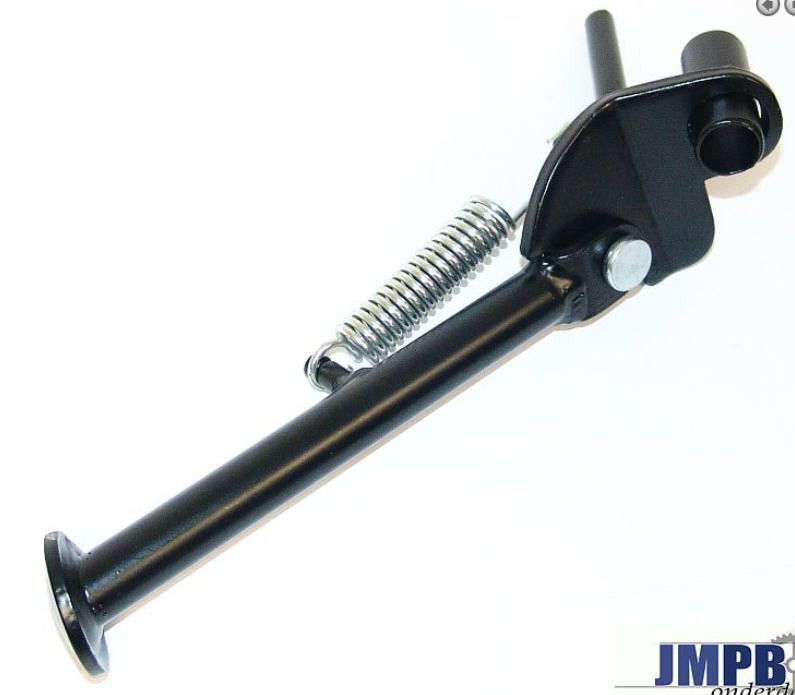
Citta
-
Gebruiker<i class="fa fa-comments-o" aria-hidden="true" style="font-size: 20px;"></i>
- Je moet ingelogd zijn om een reactie op dit onderwerp te kunnen geven.